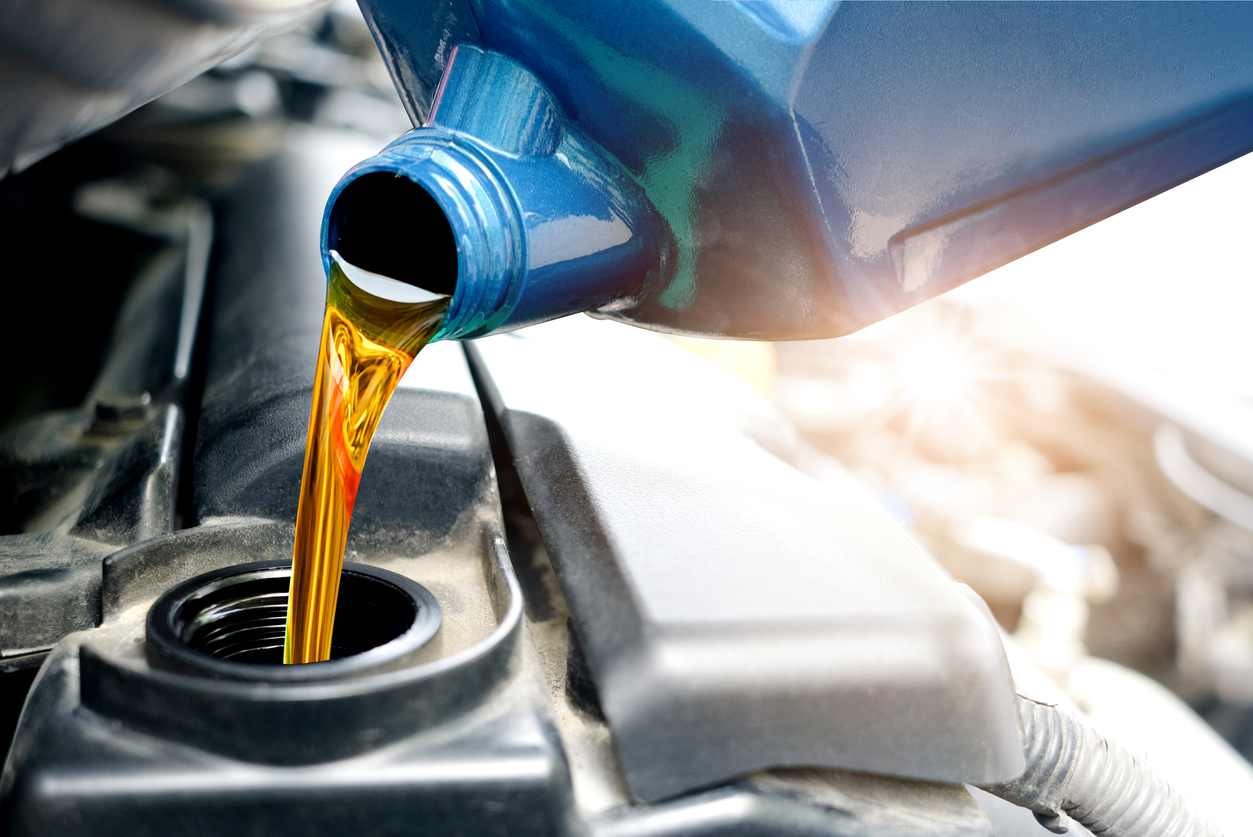
Regular oil changes are arguably the single most important maintenance task you can perform to keep your car's engine running smoothly and extend its lifespan. This article explains why oil changes are so crucial and provides a step-by-step guide to changing your oil yourself, saving you money and giving you a deeper understanding of your vehicle.
Why Are Regular Oil Changes So Important?
Engine oil performs several vital functions:
-
Lubrication: Oil lubricates the engine's moving parts, reducing friction and wear. This prevents metal-on-metal contact, which can cause serious damage.
-
Cooling: Oil helps to dissipate heat from the engine, preventing overheating.
-
Cleaning: Oil suspends dirt, debris, and combustion byproducts, preventing them from accumulating and forming sludge.
-
Sealing: Oil helps to seal the piston rings, maintaining compression and preventing blow-by.
-
Corrosion Protection: Oil contains additives that protect metal engine parts from corrosion.
Over time, engine oil breaks down due to heat, oxidation, and contamination. It becomes less effective at lubricating, cooling, and cleaning, leading to increased wear and tear, reduced performance, and potentially engine failure. Regular oil changes remove the old, degraded oil and replace it with fresh, clean oil, ensuring optimal engine performance and longevity.
Oil Change Interval: How Often?
The recommended oil change interval varies depending on the vehicle manufacturer, the type of oil used, and driving conditions. Consult your owner's manual for the specific recommendation for your car.
-
Traditional Recommendation: Many older vehicles recommend oil changes every 3,000 miles or 3 months, whichever comes first.
-
Modern Recommendation: Many newer vehicles, especially those using synthetic oil, can go 5,000 to 10,000 miles or 6-12 months between oil changes.
-
Severe Driving Conditions: If you frequently drive in stop-and-go traffic, dusty conditions, extreme temperatures, or tow heavy loads, you may need to change your oil more frequently.
DIY Oil Change: A Step-by-Step Guide
Disclaimer: This is a general guide. Consult your owner's manual for specific instructions and torque specifications for your vehicle. If you're not comfortable working on your car, have a professional mechanic perform the oil change.
Supplies You'll Need:
-
New oil (correct type and quantity for your vehicle)
-
New oil filter
-
Oil filter wrench
-
Wrench for the drain plug
-
Drain pan
-
Funnel
-
Jack and jack stands (or ramps)
-
Wheel chocks
-
Gloves
-
Rags or paper towels
Steps:
-
Warm Up the Engine: Run the engine for a few minutes to warm the oil, making it flow more easily.
-
Prepare Your Vehicle: Park on a level surface, engage the parking brake, and use wheel chocks to secure the wheels.
-
Raise the Vehicle: Use a jack to raise the vehicle and securely support it with jack stands. Never work under a car supported only by a jack.
-
Locate the Drain Plug: Find the oil drain plug on the bottom of the oil pan.
-
Position the Drain Pan: Place the drain pan under the drain plug.
-
Remove the Drain Plug: Carefully loosen and remove the drain plug with the correct wrench, allowing the old oil to drain completely.
-
Replace the Drain Plug: Once the oil has drained, clean the drain plug and install a new crush washer (if applicable). Tighten the drain plug to the manufacturer's specified torque.
-
Locate the Oil Filter: Find the oil filter (location varies by vehicle).
-
Remove the Oil Filter: Use an oil filter wrench to loosen and remove the old oil filter.
-
Prepare the New Filter: Lubricate the rubber gasket of the new oil filter with a thin film of fresh oil.
-
Install the New Filter: Screw the new oil filter onto its mounting point by hand until it's snug, then tighten it another half to three-quarters of a turn (or according to the filter's instructions).
-
Lower the Vehicle: Carefully lower the vehicle to the ground.
-
Add New Oil: Remove the oil filler cap (usually marked with an oil can symbol) and use a funnel to add the correct amount of new oil (refer to your owner's manual).
-
Check the Oil Level: Use the dipstick to check the oil level. Add more oil if needed, but don't overfill.
-
Start the Engine: Start the engine and let it run for a few minutes. Check for leaks around the drain plug and oil filter.
-
Recheck the Oil Level: Turn off the engine and let it sit for a few minutes. Recheck the oil level and add more if needed.
-
Dispose of Old Oil Properly: Take the used oil and filter to a recycling center or auto parts store.
Performing regular oil changes is a simple but crucial task that can significantly extend the life of your engine. Whether you choose to do it yourself or have it done professionally, make sure it's a priority in your car maintenance schedule.
What are your oil change tips or experiences? Share them in the comments below!